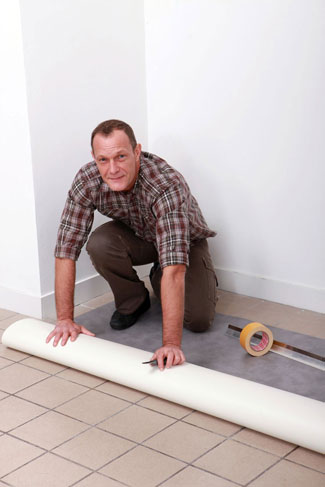
Vinyl Installation
American Wholesale Floors does not offer installation services through our company directly, we do refer our customers to installers that we trust.
WHAT TO KNOW BEFORE THE INSTALLERS ARRIVE.
If you are like many shoppers, you can just picture your new vinyl flooring, all beautifully installed, clean and promising. It is an inviting new stage upon which life in your new home will now unfold. Being prepared and involved will help ensure that the installation process is done smoothly and efficiently. Knowing what to expect will be a lot less stressful on you, your family, and your home.
THE INSTALLERS WILL GET TO THE BOTTOM OF THINGS.
The first step in installing your new vinyl flooring is to prepare the substrate on which the vinyl will be laid. If installing over a wood substrate, an underlayment will generally be necessary. If installing over a concrete substrate, an underlayment will not be required, but some floor preparation might be needed. You will need to give some attention to the height of your appliances to counters and cabinets if an underlayment is required.
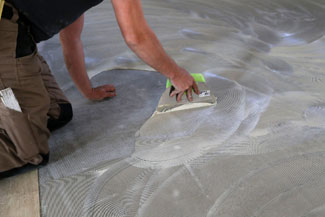
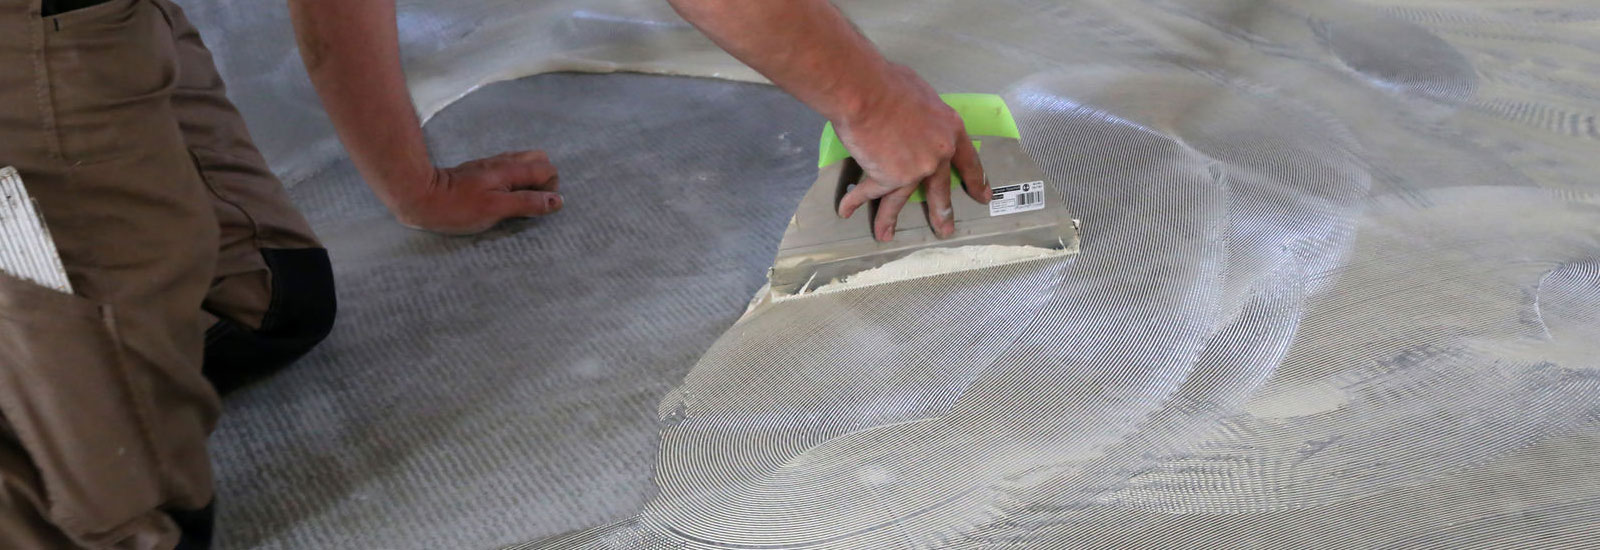
There are three different methods used to install vinyl flooring. They are fill spread, perimeter adhered, and floating installations. A full spread installation means that adhesive is troweled over the entire substrate. A perimeter adhered installation means adhesive is only applied to the perimeter of the flooring and at the seams. A floating installation means the vinyl flooring is not bonded to the substrate at all. Your beautiful new vinyl floor will be professionally installed using one of the three methods and is determined by the manufacturer and style of flooring.
WHAT TO DO BEFORE INSTALLATION DAY.
Remove all furniture and other objects from the area where the installation will take place. Be aware that the area of installation must be climate controlled. Indoor humidity should be maintained between 45-65%. Please consider how your old flooring will be taken up and disposed of. Remove all old floor covering at least one day prior to installation of your new floors. If removing old carpet, please leave tack strips in place and pull the staples out of the floor from the original pad. Prepare your existing subfloor or put in a new subfloor if needed. Make sure the subfloor is as clean and level as possible.
WHAT TO DO ON INSTALLATION DAY.
Be prepared to be home on the day of your installation. Your installers will use a variety of tools and techniques that can make the work area hazardous, so make sure that children and pets are kept out of the work area on installation day. In some cases, moldings, and baseboards need to be removed for installation. We recommend that prior to the completion of the installation, you do a walk-through with the chief installer. This will give you the opportunity to ask any questions and to be clear on any final details.
WHAT TO DO AFTER INSTALLATION DAY.
For a minimum of 24 hours after your new vinyl floor is installed, protect all seamed areas. Don’t walk on the floors or the seam sealer. Keep the room at 68 degrees or greater for at least two days after installation to allow the adhesives to set up properly. Good ventilation should be established for 48-72 hours after installation. If your vinyl floor was installed using the full spread or perimeter adhered methods, no appliances should be moved in for a minimum of 24-72 hours after installation. Light foot traffic is allowed after 24 hours. If the installers used the floating method, appliances can be moved in immediately and foot traffic can continue. Allow five days before thoroughly washing the floor. This will give time for the adhesive to cure.
WHAT TO KNOW BEFORE THE INSTALLERS ARRIVE.
If you are like many shoppers, you can just picture your new vinyl flooring, all beautifully installed, clean and promising. It is an inviting new stage upon which life in your new home will now unfold. Being prepared and involved will help ensure that the installation process is done smoothly and efficiently. Knowing what to expect will be a lot less stressful on you, your family, and your home.
THE INSTALLERS WILL GET TO THE BOTTOM OF THINGS.
The first step in installing your new vinyl flooring is to prepare the substrate on which the vinyl will be laid. If installing over a wood substrate, an underlayment will generally be necessary. If installing over a concrete substrate, an underlayment will not be required, but some floor preparation might be needed. You will need to give some attention to the height of your appliances to counters and cabinets if an underlayment is required.
There are three different methods used to install vinyl flooring. They are fill spread, perimeter adhered, and floating installations. A full spread installation means that adhesive is troweled over the entire substrate. A perimeter adhered installation means adhesive is only applied to the perimeter of the flooring and at the seams. A floating installation means the vinyl flooring is not bonded to the substrate at all. Your beautiful new vinyl floor will be professionally installed using one of the three methods and is determined by the manufacturer and style of flooring.
 WHAT TO DO BEFORE INSTALLATION DAY.

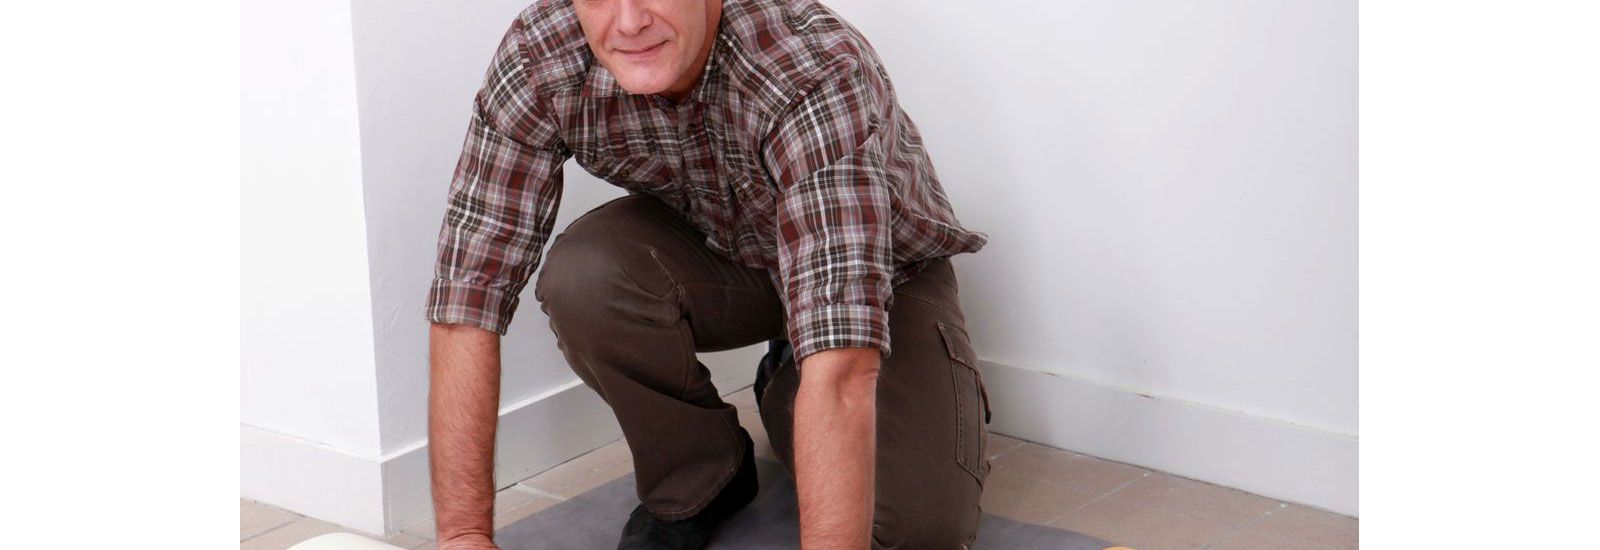
Remove all furniture and other objects from the area where the installation will take place. Be aware that the area of installation must be climate controlled. Indoor humidity should be maintained between 45-65%. Please consider how your old flooring will be taken up and disposed of. Remove all old floor covering at least one day prior to installation of your new floors. If removing old carpet, please leave tack strips in place and pull the staples out of the floor from the original pad. Prepare your existing subfloor or put in a new subfloor if needed. Make sure the subfloor is as clean and level as possible.
WHAT TO DO ON INSTALLATION DAY.
Be prepared to be home on the day of your installation. Your installers will use a variety of tools and techniques that can make the work area hazardous, so make sure that children and pets are kept out of the work area on installation day. In some cases, moldings, and baseboards need to be removed for installation. We recommend that prior to the completion of the installation, you do a walk-through with the chief installer. This will give you the opportunity to ask any questions and to be clear on any final details.
WHAT TO DO AFTER INSTALLATION DAY.
For a minimum of 24 hours after your new vinyl floor is installed, protect all seamed areas. Don’t walk on the floors or the seam sealer. Keep the room at 68 degrees or greater for at least two days after installation to allow the adhesives to set up properly. Good ventilation should be established for 48-72 hours after installation. If your vinyl floor was installed using the full spread or perimeter adhered methods, no appliances should be moved in for a minimum of 24-72 hours after installation. Light foot traffic is allowed after 24 hours. If the installers used the floating method, appliances can be moved in immediately and foot traffic can continue. Allow five days before thoroughly washing the floor. This will give time for the adhesive to cure.

